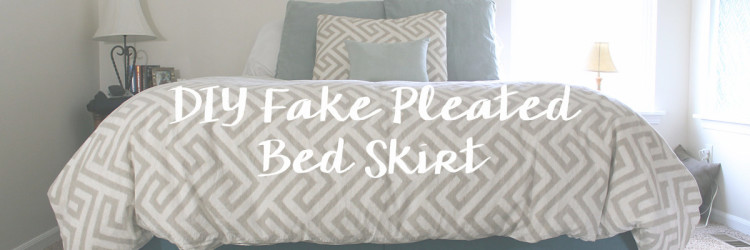
Make Your Own {fake} Pleated Bedskirt
This project is simple. It does require a sewing machine, but if you have sewing machine and sorta know how to use it… YOU.CAN.DO.IT! You’re sewing straight lines – a lot of straight lines.
You’ll also use an iron. Do you know how to iron? YOU.CAN.DO.IT!
Okay, but seriously… My mom is the genius behind this project. She is the one who empowers me to do all these projects. If I start to doubt, she either comes over and fixes it or gives me the encouragement I need to finish it.
This was our bedroom before the bedskirt. It looked nice, it has furniture, but it also looked like we had just moved in. It looked unfinished.
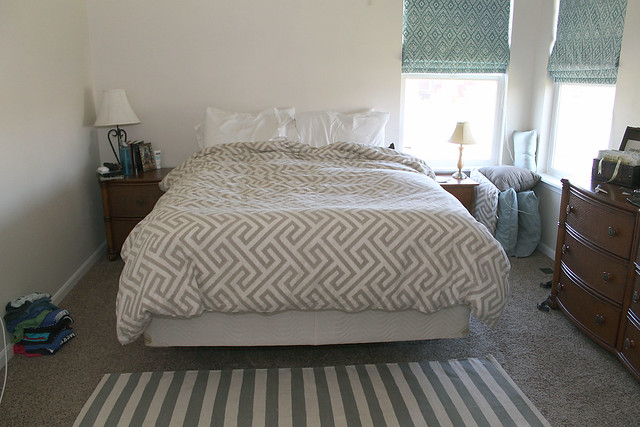
It did have those great Roman Shades {another DIY project} but it needed more. When I bought my window treatment fabric, I also bought a coordinating fabric for the bedskirt and (future) headboard. Also if you look closely you can spy some little Alfie ears… I was planning on putting all the pillows on the bed, but he was resting so peacefully – I just couldn’t do it.
NOTE: I will use the measurements from our queen bed for the directions, but your bed might sit a little higher/lower off the ground so you will need to take your own measurements specific to your bed.
diy pleated bedskirt supplies
1. Fabric (decorative and liner)
2. Fabric Scissors
3. Sewing machine & supplies
4. Fabric Glue (I used this)
5. Iron & Ironing board
6. Measuring tape
7. Velcro
So we’ll start by measuring your bed from the top of the box spring to where you want it to land on the floor. My finished height needed to be 16″. Then I added 1 inch for the hem and 2 inches to the bottom so the fabric would tuck underneath to prevent seeing any liner when it’s finished. So the height of my decorative fabric raw was 19 inches.
decorative fabric cut height = {desired finished height} + 3
Your liner is different. Because of the 2 inches you’re adding to the bottom of the decorative fabric you just need to subtract 2 from the height of your decorative fabric.
liner fabric cut height = {decorative fabric cut height} – 2
There will be 3 different lengths of panels. I created this handy dandy diagram to try to help you understand how this works (please forgive the childlike appearance of this)

You’ll create 4 number one panels, 2 number two panels, and 3 number three panels. Panel number three is the hidden panel that makes your bedskirt look pleated but without the pleat so you don’t have to worry about bulkiness.
Now to calculate the length you need to whip out your tape measure again! (Note: all of these measurements are in inches)
Panel 1 cut length = {length of long side of bed/2} + 6
Panel 2 cut length = {length of short side of bed/2} + 6
Panel 3 cut length = 8 inches
Remember that you need to cut 4{ones}, 2{twos}, and 3{threes}!!
Alright, now that we’re through all the numbers I’ll show you how I made ours and put it all together.
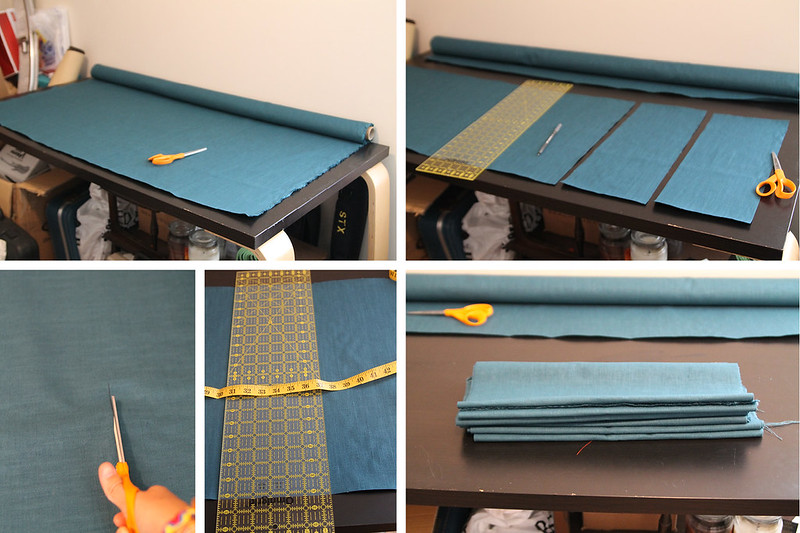
cut all your decorative fabric
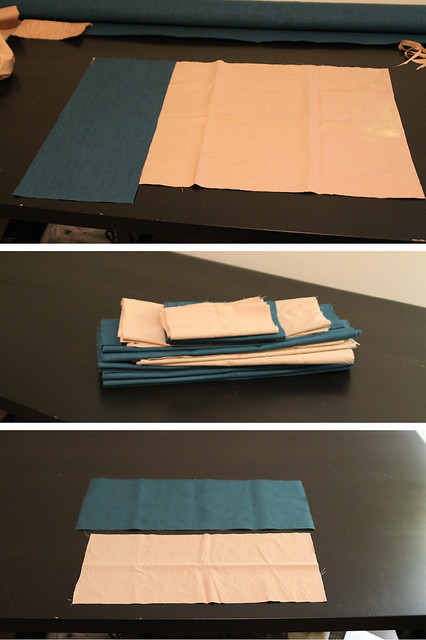 cut all your lining fabric – your liner will be shorter than your decorative fabric
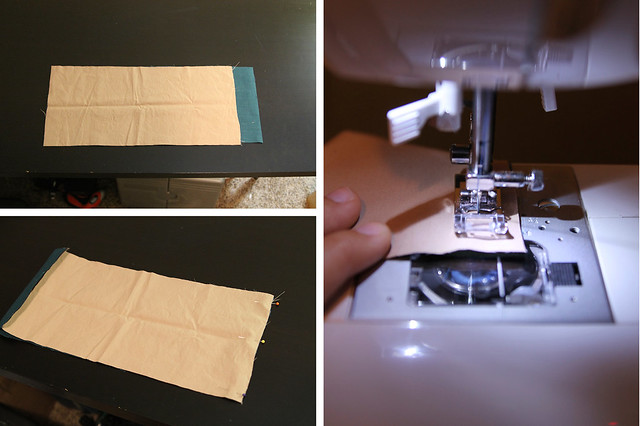 Line up your fabric and SEW! Once you’ve sewn one edge, line up the other edge!
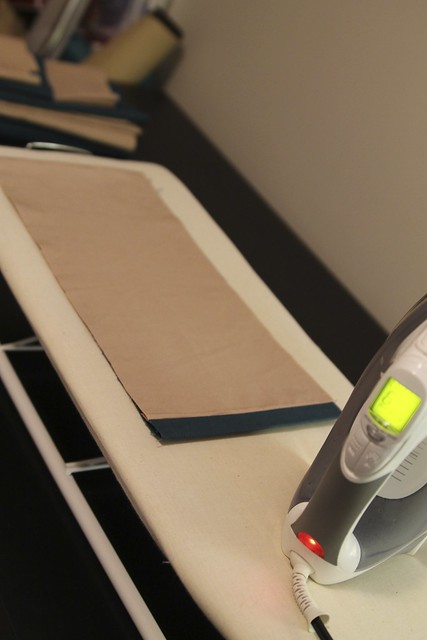 Iron your fabric flat so you can fold the edges in to sew
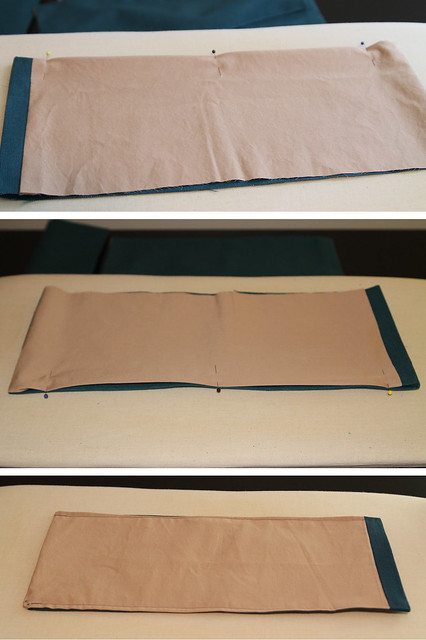 Fold under the edges, iron, pin, and sew it closed
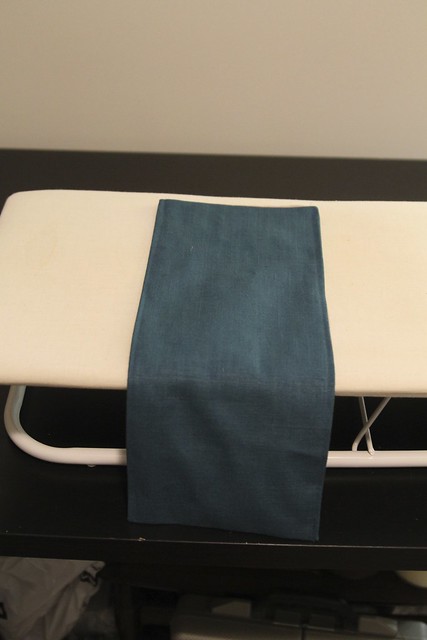 Iron all the crinkles out and it’ll be time for velcro…
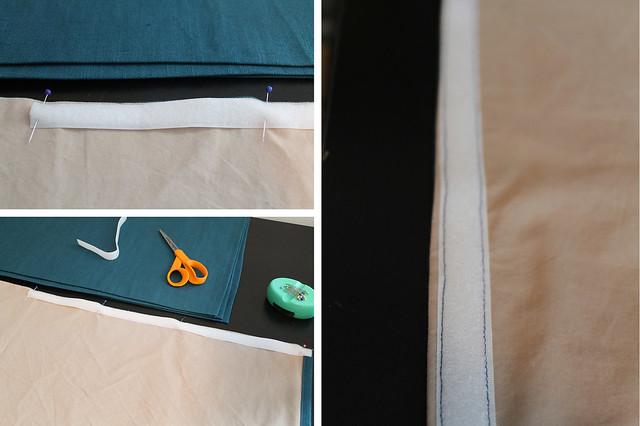 Sew the soft side of the velcro to the top of your panel
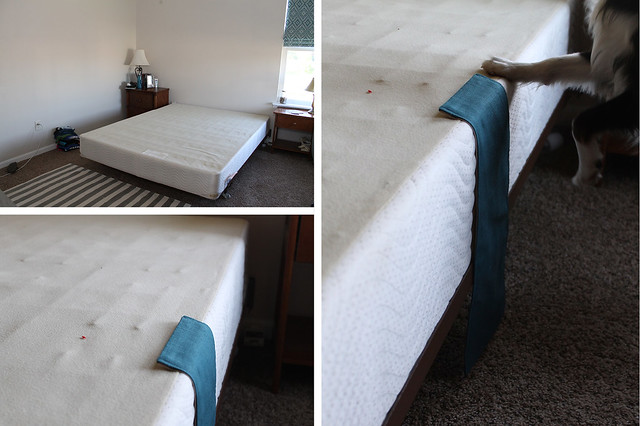 Pull your mattress off and grab your fabric glue. Attach the velcro and panel to your box spring with your fabric glue. You may or may not need to ask your pup to move out of the way. You’ll also need to sew the rest of your panels and iron them flat.
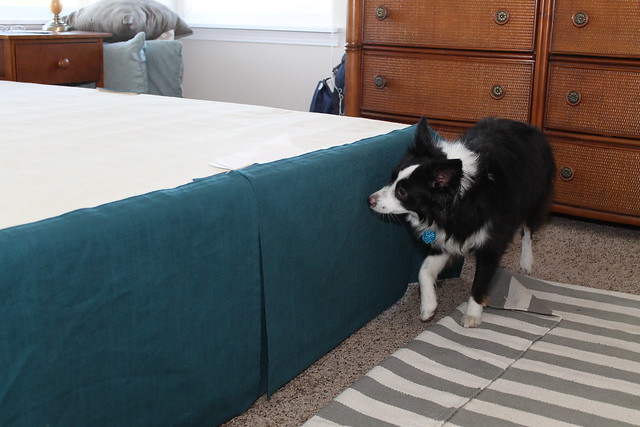
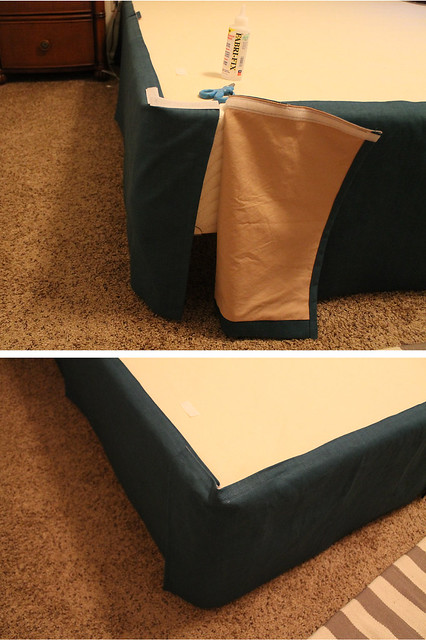 When you have everything attached you can work on your corners. You’ll take your extra velcro and glue the sticky side so the panels can overlap. I overlapped mine so the open edge is on the long side of the bed – I didn’t want another seam at the foot of the bed.
Now you just wait for your glue to dry and put your mattress back on! Remake your bed and then grab your camera and tripod to snap the after photos of your fun project!
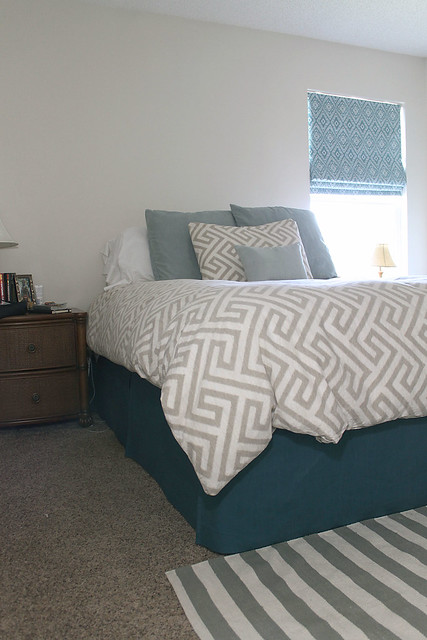
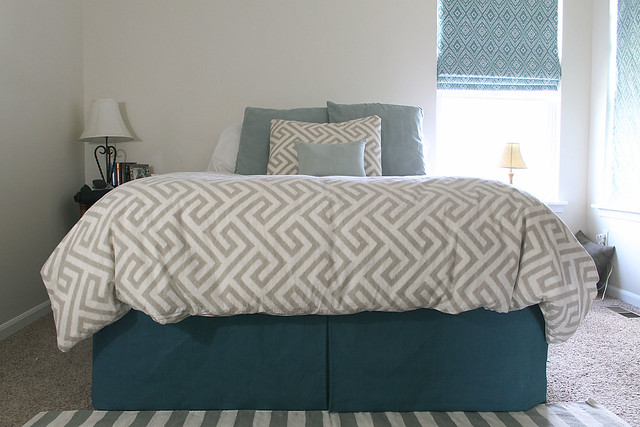
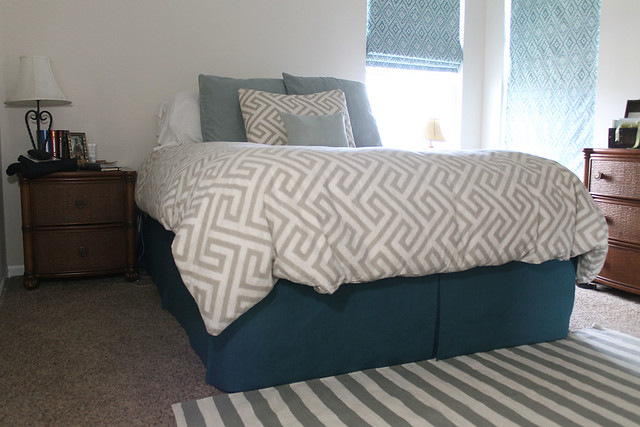
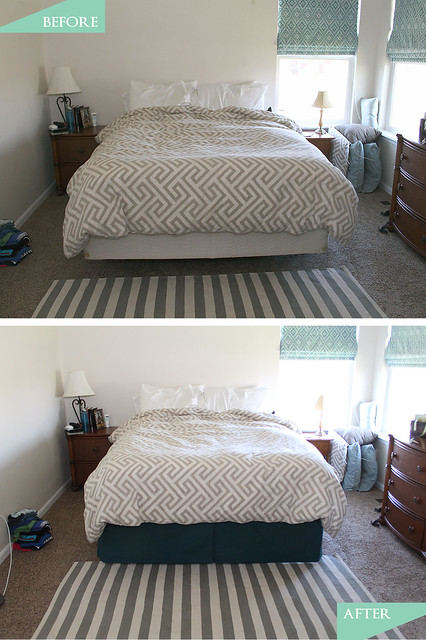
What do you think? Do you think it’s a project you could possibly do yourself? We are so happy with the results – it really makes the room seem more “adult” and that’s the goal I think. Now, I need to start working on our headboard. It’s going to match our bedskirt and I think it will tie everything together even more.
Happy Tuesday! Share this post on Pinterest for later, or if you have a friend who would benefit, share it on Facebook!
I am linked up to the following blogs…
