DIY Roman Shades
This project requires the use of a sewing machine (or a very patient hand stitch master)
Over the weekend I made curtains for Mike and I’s room. We have been wanting curtains in here for awhile now – mainly because the cheap vinyl mini blinds aren’t necessarily easy on the eyes and also they let the sun shine in like a boss at 6:15 am. We also have a street light that sits outside of our bedroom window that at night makes Mike declare “It’s brighter than the sun in here!” so I knew that blackout curtains were in our future.
Well the future is now because last week my mom and I went on an adventure to pick out fabrics for our home. I needed fabric for curtains, a bedskirt, and a headboard in the master – and also fabric for curtains in our guest bedroom. I came home very successful. These are the fabrics for our bedroom…
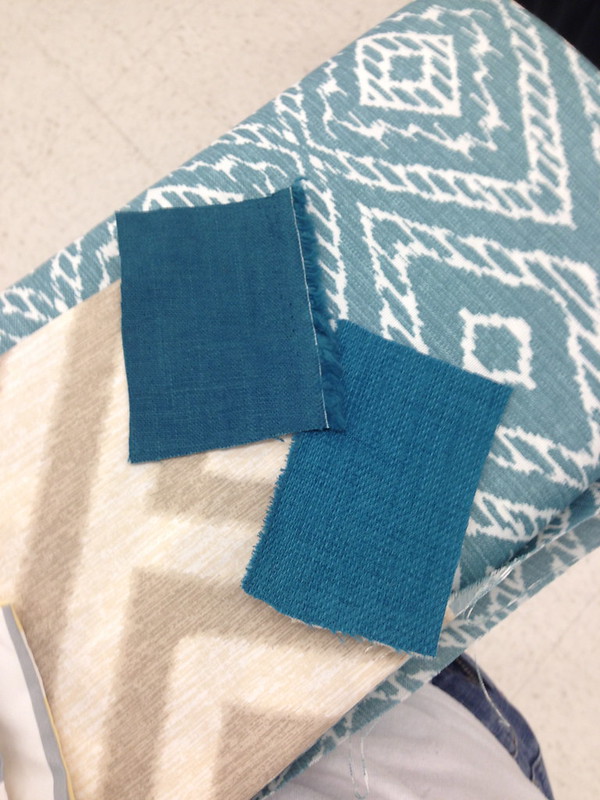
The tan fabric is our comforter and we went with the blue on the left because it was 20$ cheaper per yard but essentially the same thing with less texture. Yay for being bargain shoppers! The solid blue will be our bedskirt and our headboard (future posts!). Also, we struck out on fabrics in the decorative fabric department at Joann’s but then realized that they have even more options in the outdoor fabric sections so our curtains are made out of outdoor fabric, not decorative fabric, and it was 50% off that day. To say I was excited would be a major understatement.
So anyways, I started working on the curtains the next day. I followed THIS VIDEO exactly and it was a tremendous help. I know how to sew, but I’m not one to just sew things on a whim and hope they work out. So, if you are going to tackle this project yourself I strongly recommend that you watch the video.
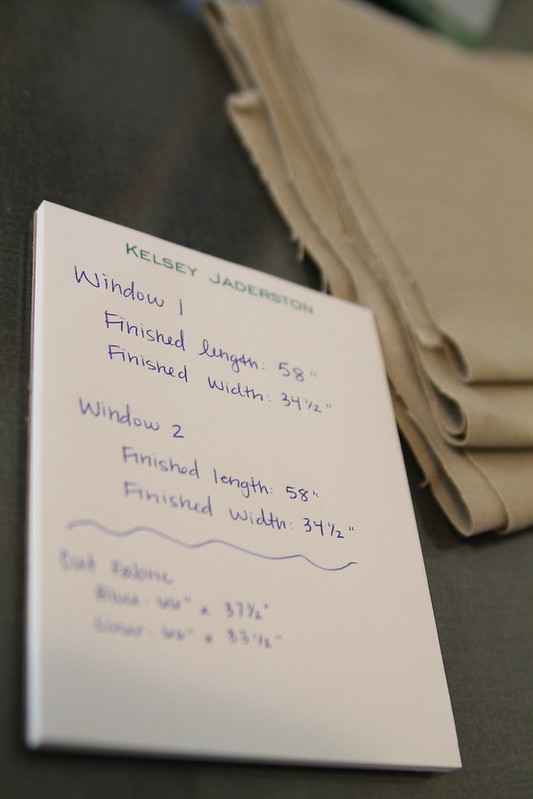 I started by taking my measurements. I would recommend measuring in more than one place in your window. One of my windows was narrower at the top than at the bottom – which is unfortunate – but something you must take into consideration.
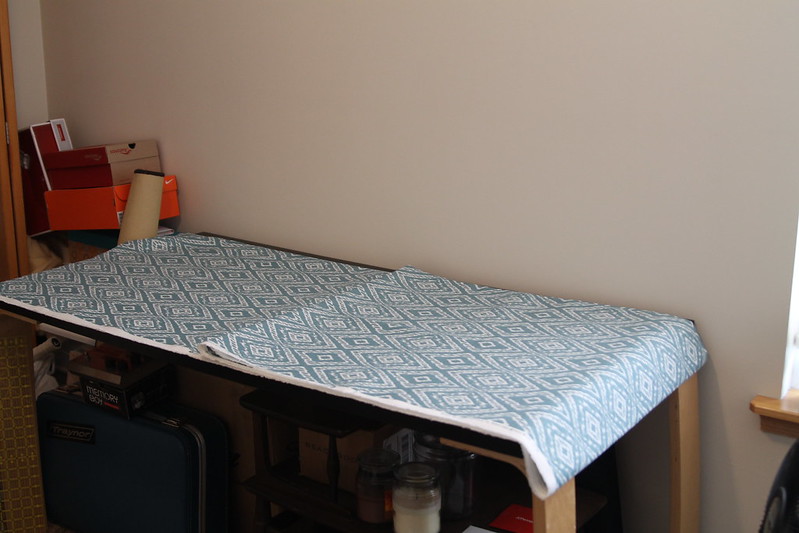 Then I cut out my fabric!
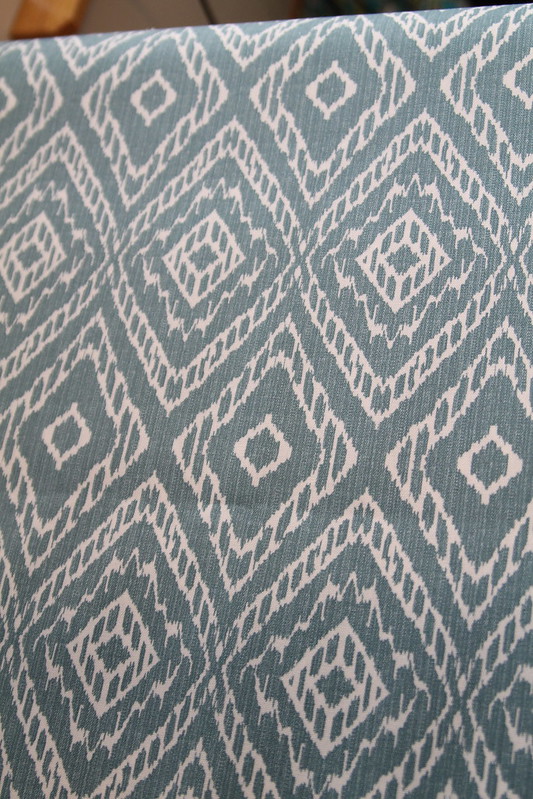 Here is the pattern up close.
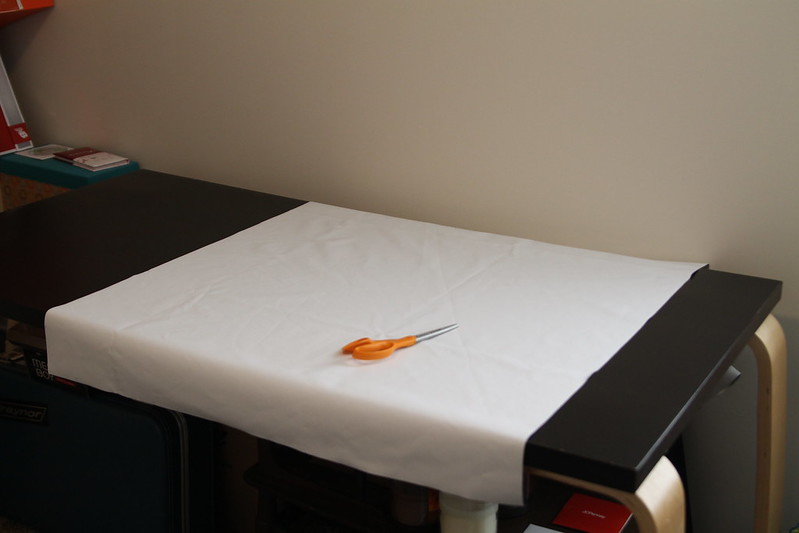 I also cut out my black out lining at this time. I went ahead and cut for both the windows because it saved me a ton of time.
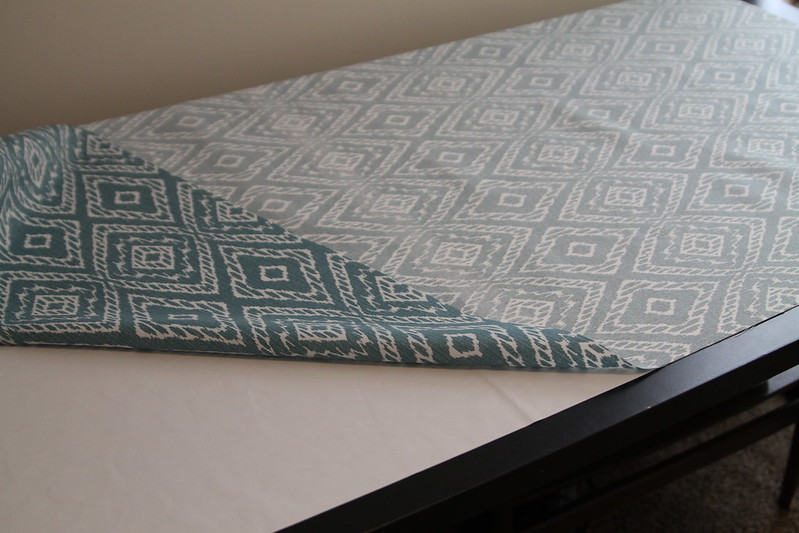 Line up your fabric with the right sides facing each other. Then pin.
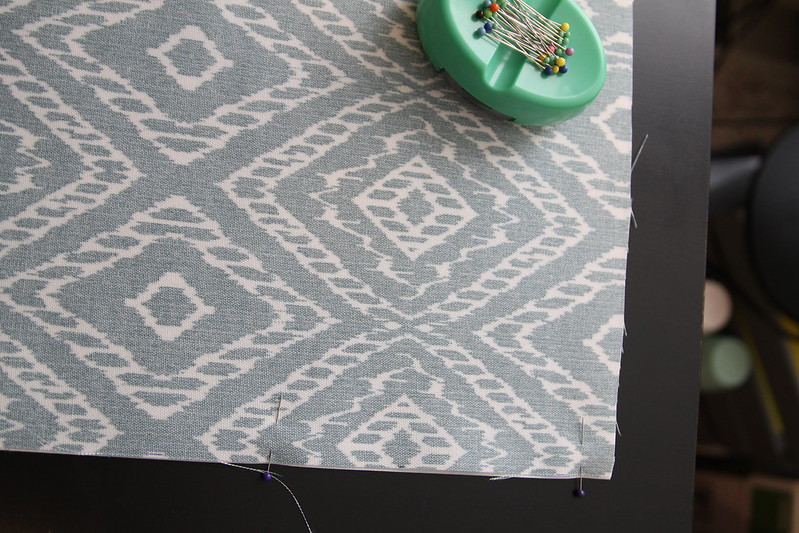
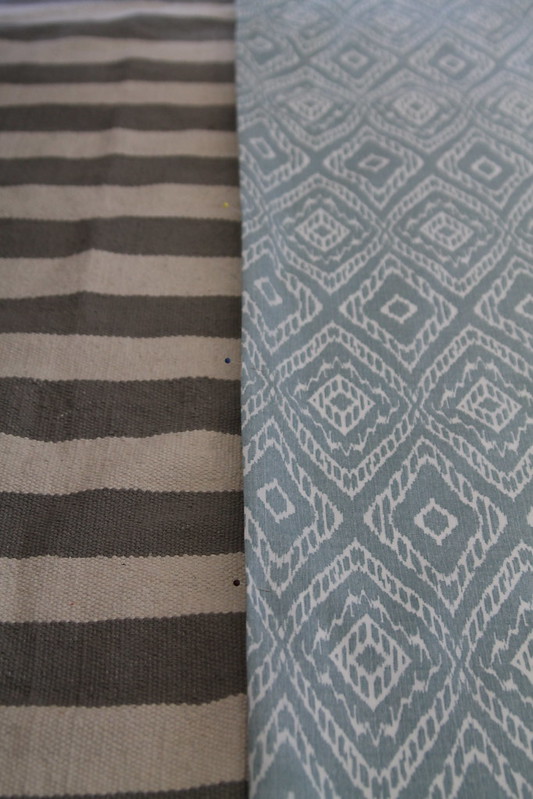
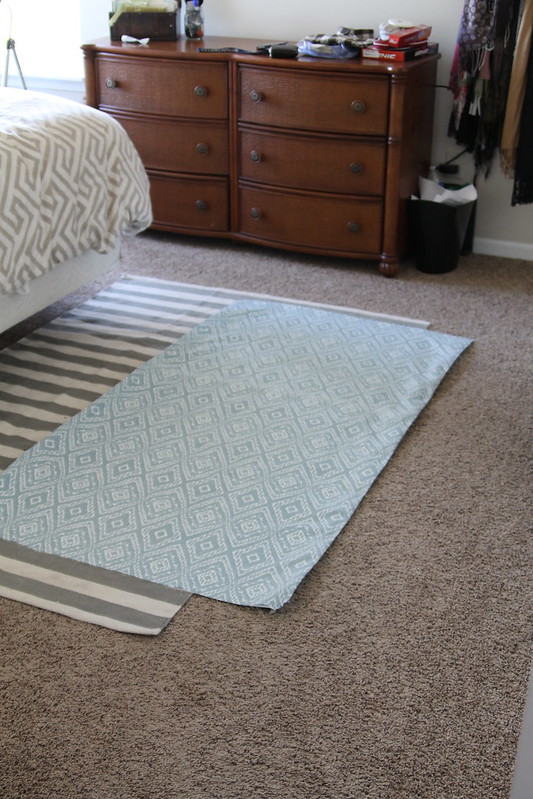
Once all the sewing is completed while it’s inside out go ahead and mark where your dowels will sit. I moved my curtain to a bigger workspace (our bedroom floor).
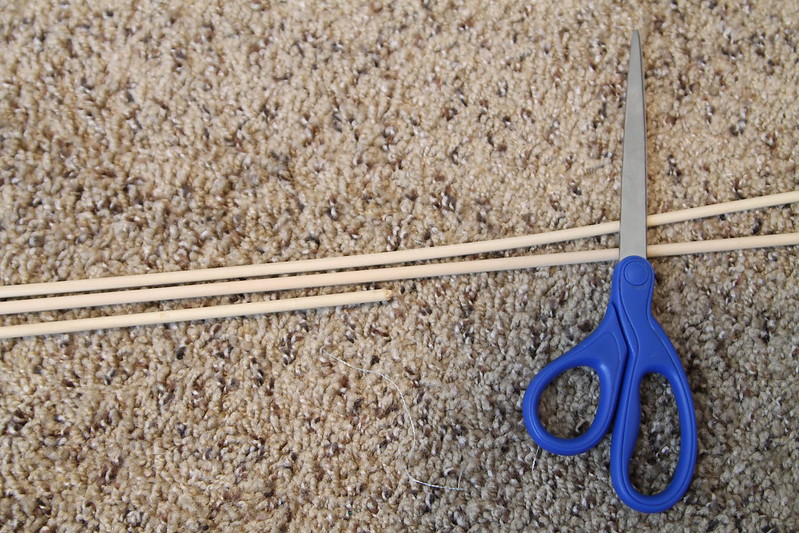 After pinning the curtains I cut my dowels to size. I used 3/16th” wooden dowels. Mike bought them at home depot. They were so thin that I could just score them with scissors and then break them on the line.
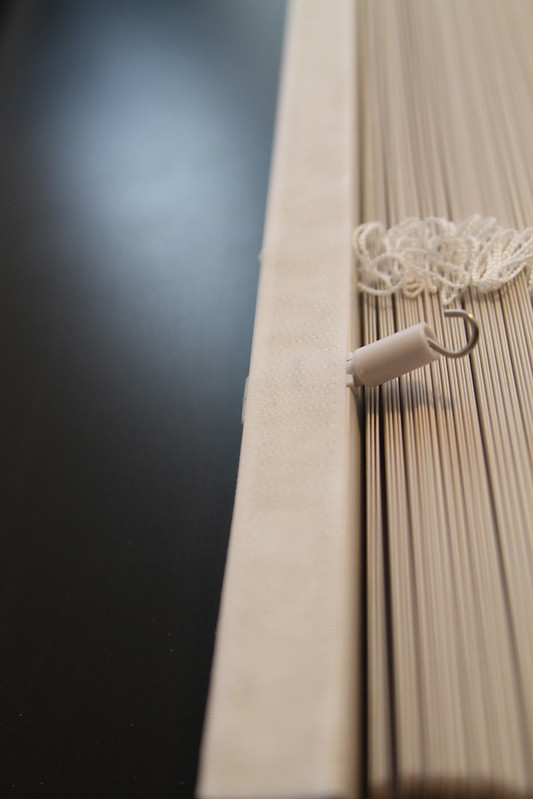
While I waited for the glue to dry, I glued my velcro to my mini blinds top. Hot glue worked great. I used the old mini blinds mechanism for the new shade so I didn’t have to spend money on making my own. It works great.
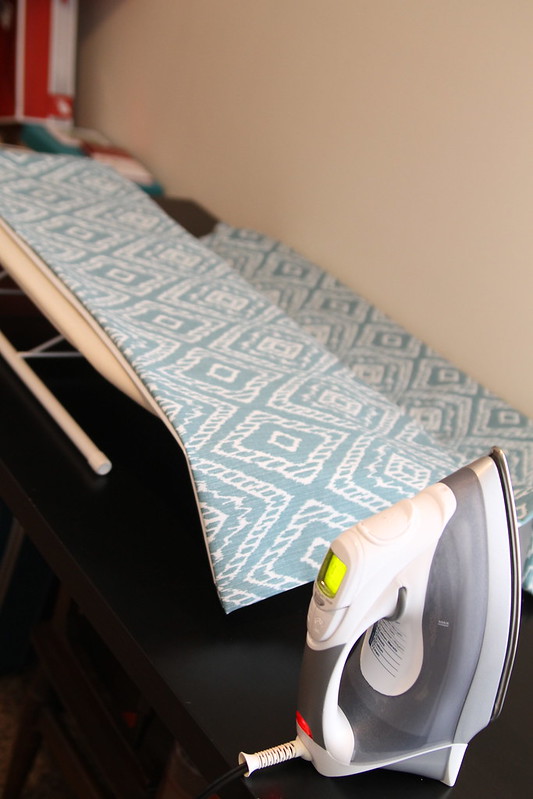
I turned the whole thing right side out and ironed like crazy. Be careful when ironing black out liner – you can easily melt it.
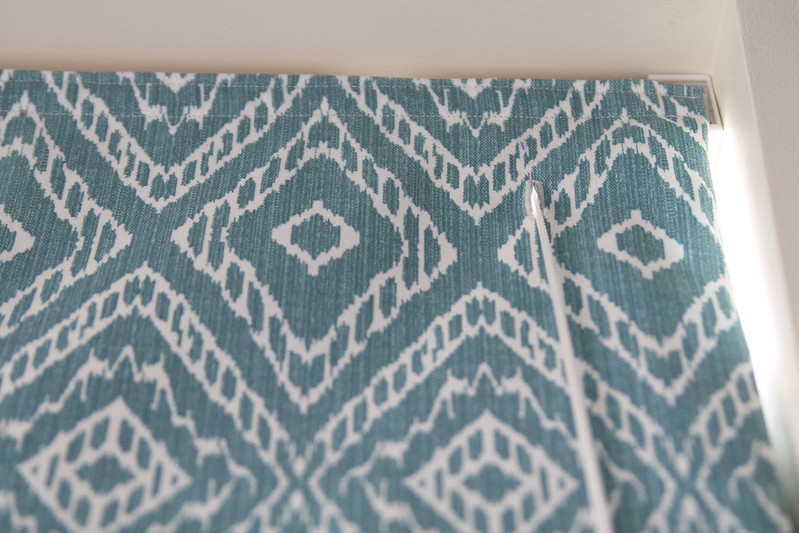 I sewed the curtain closed – creating very clean edges and adding the other side of the velcro to the top. I also added a button hole for the strings to pull through. I didn’t want to have to reach behind the shade every time to open/close.
Now for the before and afters…
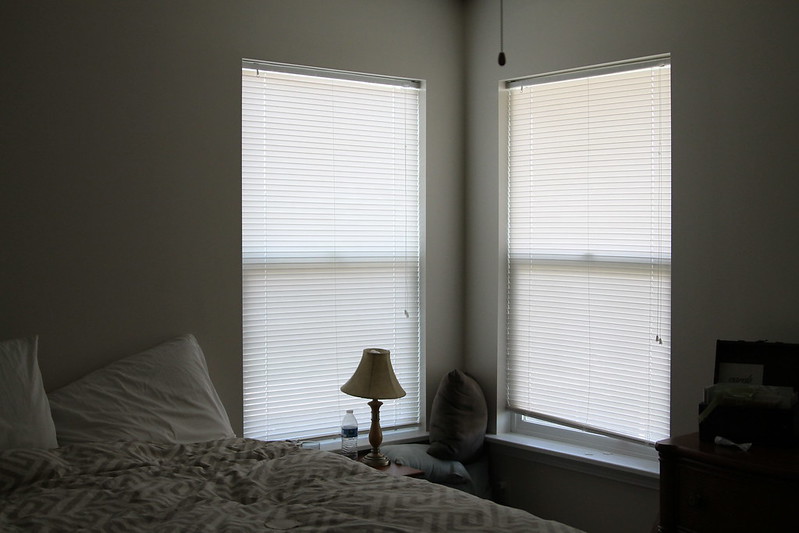
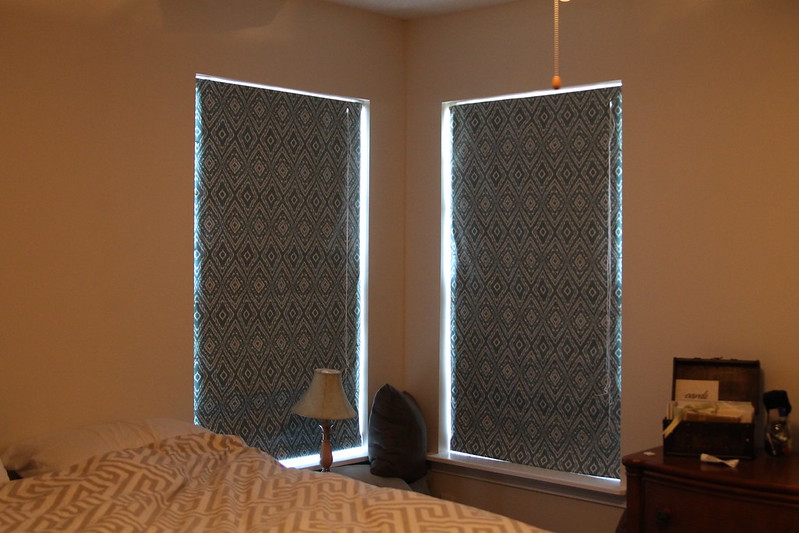
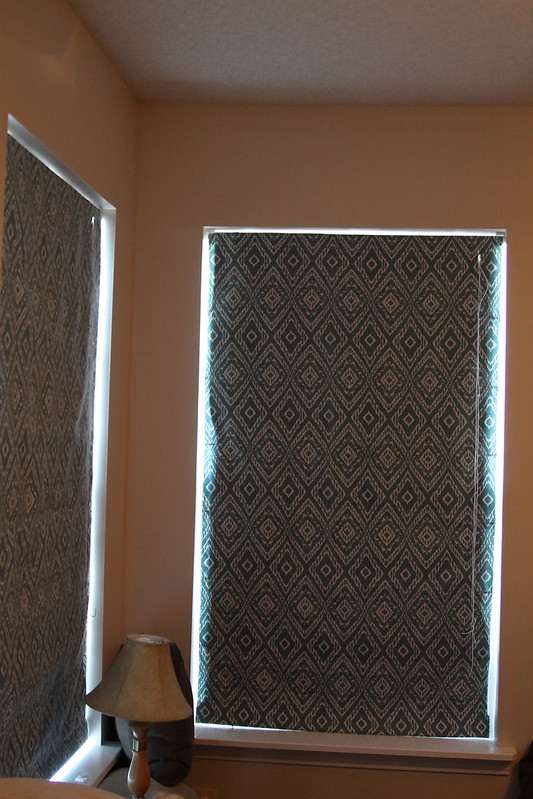
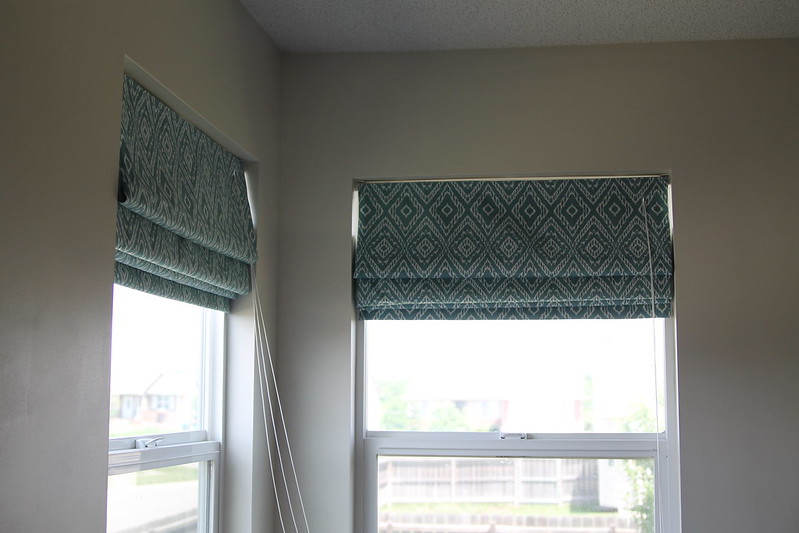
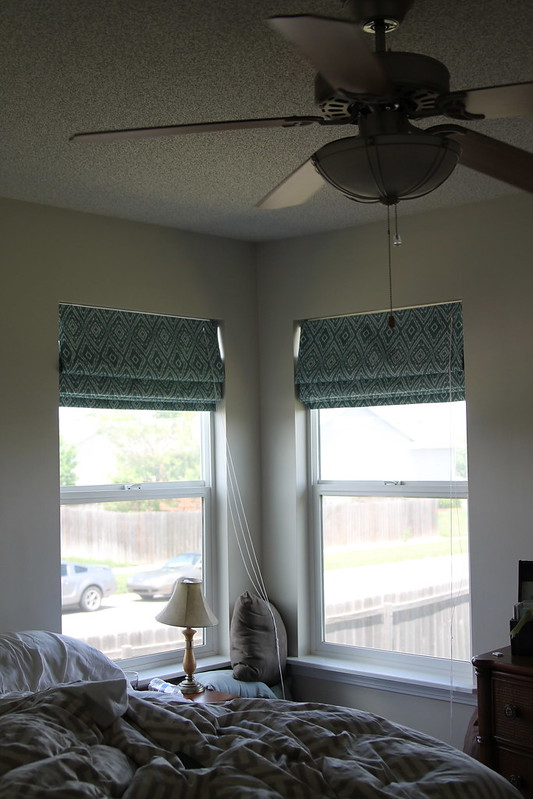
We are very happy with them. They make the room so dark, block out the heat, and add a pop of color while I prepare to make our headboard and bedskirt. I’m so excited that we’re finally adding some fabrics to our home and that decorating is coming more naturally. I get really nervous decorating because I have to live with the decision for.ev.er. but that’s not really the case. I’m learning. And so far it has been really fun.
This tutorial was not all inclusive – and probably wouldn’t even be considered a tutorial. If you want shades similar to this, again I STRONGLY recommend watching THIS VIDEO. It’s long, but it will make your life 50x easier.
Happy Crafting! If you liked this post or are interested in saving it for later please pin one of the images above – or the image below. Thanks!
Happy Day!

June 8, 2014 @ 10:40 PM
Love your new shades! What a great idea to use the mini-blinds mechanism…I love re-purposing things I already have.
June 9, 2014 @ 10:09 PM
Thank you! I love re-purposing too – It can save SO much money! XOXO
June 9, 2014 @ 1:02 AM
They’re beautiful!
June 9, 2014 @ 10:10 PM
Thank you so much! All the work was SO worth it. XOXO